Setup Instructions: Attaching, User Modes, and Calibration Made Easy
Introduction
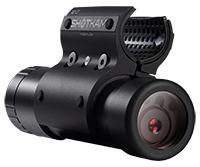
This video will guide you through the process of attaching the ShotKam to your gun, explore its various modes, and effortlessly calibrating the device. If you're an avid shooter or looking to improve your shooting skills, the ShotKam is a fantastic tool that captures your shooting experiences and helps you analyze your shots in detail. Let's dive in!
Mounting ShotKam
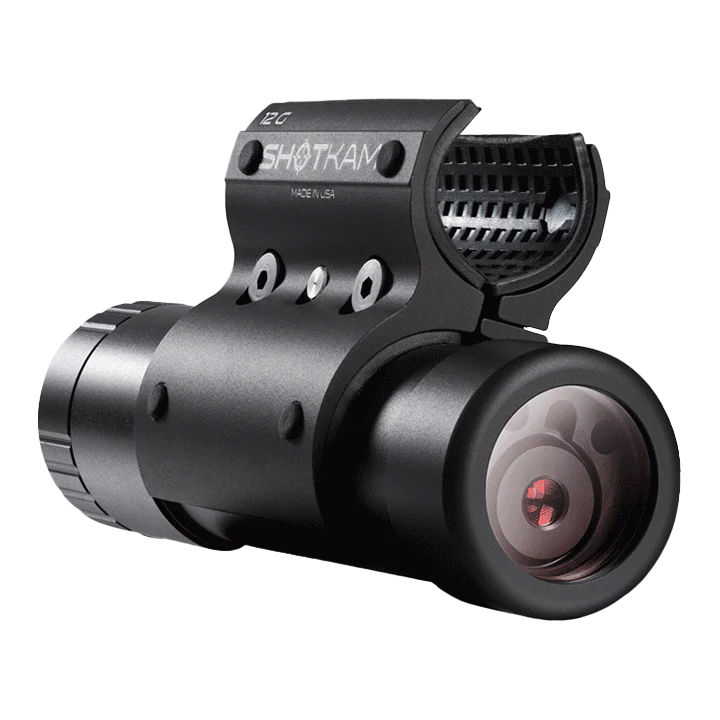
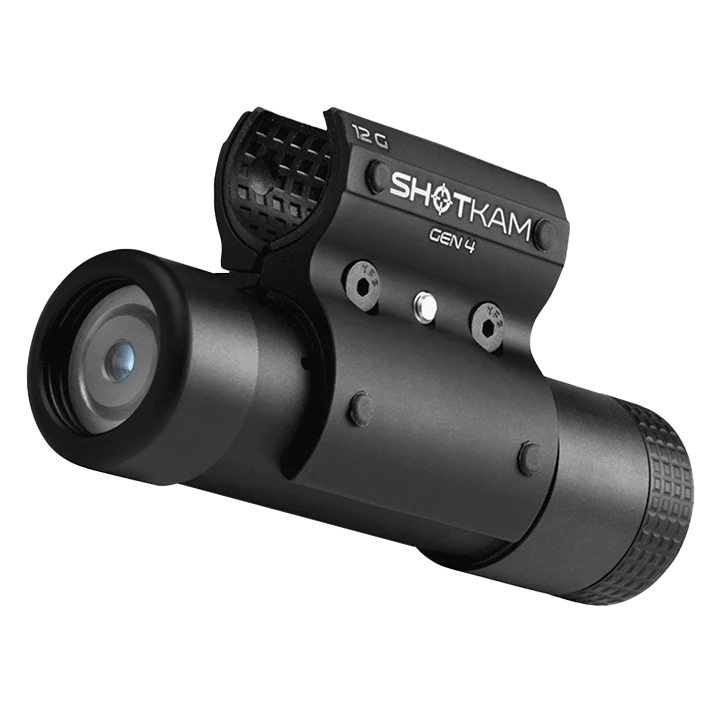
Attaching the ShotKam to your gun is quick and easy. Start by loosening the silver screw using the provided allen key, and then carefully attach the ShotKam to your gun. Make sure to tighten the silver screw with approximately 5 pounds of pressure, but be cautious not to overtighten. Ensure that the USB port is closest to the barrel, and position the ShotKam about 3 to 8 inches back from the muzzle. Finding the right spot is essential for optimal video recording; too far back, and you may catch the barrel at the top of your videos. Experiment until you find the position that feels comfortable and balanced for your gun.
User Modes
The ShotKam offers three user modes, each serving a specific purpose. To start, turn the ShotKam off, and with one quick click, power it on. You'll notice a solid green light, indicating that it's in "Normal Shooting Mode." In this mode, the ShotKam records at the highest frame rate and automatically goes into "Sleep Mode" after 20 seconds of inactivity to conserve battery. When in "Sleep Mode," the green light will flash. To wake it up, either close the shotgun action or click the control button for a solid green light again.
After taking a shot, you'll see a blue light following the recoil, signaling that the video has been saved. The final mode is "Constant Record," recommended for stealth hunts or when you want uninterrupted recording without pressing the power button. To activate "Constant Record," start with the ShotKam off and double click the power button quickly. You'll see one green and one blue LED, indicating it's continuously recording, capable of lasting up to two hours. To stop the video, simply click the control button until it turns solid green.
Reviewing Videos and Calibration
When you're ready to review your recorded videos in the field, turn off the ShotKam and hold down the power button for three seconds. Two LED lights will come on, and after a few seconds, one will turn green, indicating that the ShotKam is now sending out its own WiFi signal. Use your smartphone, iPad, or tablet to connect to the ShotKam WiFi in your settings. Then, open the ShotKam App, and you can effortlessly download all your videos.
To enhance your shooting experience further, calibrate the reticle (red dot or crosshair) to the bead of your gun. Simply turn the ShotKam into WiFi Mode by holding down the control button for three seconds. Once in WiFi Mode, access your phone settings, tap on "WiFi," and connect to the ShotKam network. Open the ShotKam App, click on "Calibrate Device," and point your gun at a target about 30 meters away or beyond. Use the arrows to adjust the reticle to match the gun's aiming position accurately. Click "Save," exit the app, and your ShotKam is now perfectly calibrated and ready for action.
Conclusion
The ShotKam is a game-changer for shooters, capturing every moment of your shooting experience and providing valuable insights for improvement. By following the simple steps outlined above, you can easily attach the ShotKam to your gun, select the appropriate mode for your shooting needs, and calibrate the reticle with precision. Whether you're a seasoned shooter or a beginner, the ShotKam is a must-have companion for refining your skills and reliving your shooting triumphs. So, grab your gear, set up your ShotKam, and let the fun and learning begin! Happy shooting!